We had 4" of snow yesterday so I spent the day by the woodstove, watching Masterpiece Theater's Wuthering Heights with my roommate and being a complete bum. Somewhere at the bottom of my massive to-do list was finding replacement lighting for the less-than-cute 1980's ceiling light my parents left in the hallway (they have since moved to CA and left me to rent and redecorate their 1940's cape cod where I grew up). I found a very basic mod-looking white globe light at the thrift store and decided to fix it up it in some way -- plus it was only $3.00 so even if I ruined it, I figured it would make for a good snow day craft.
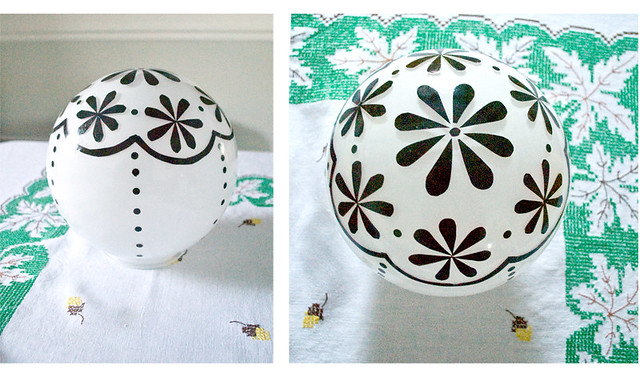
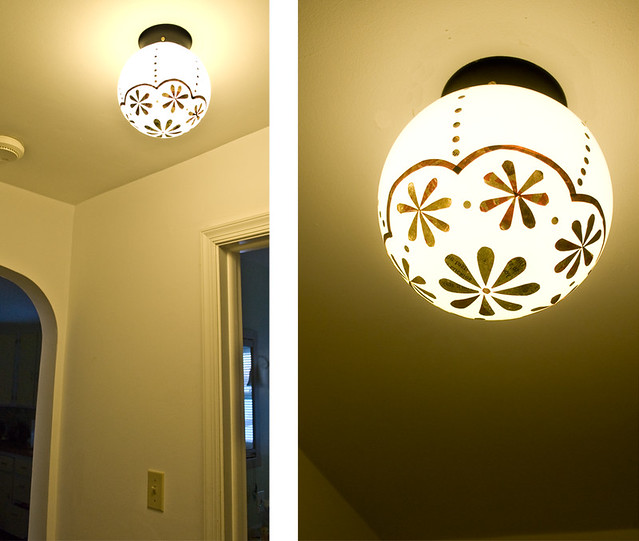
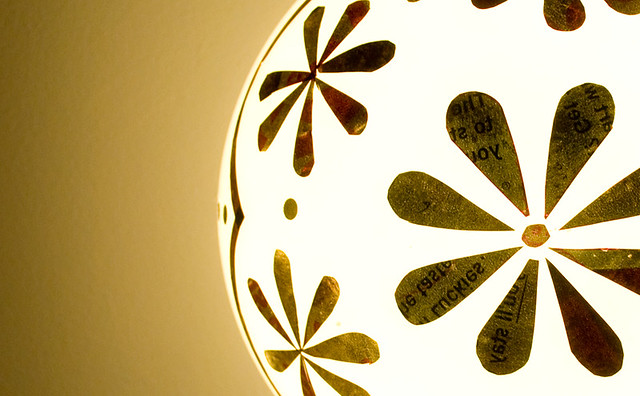
I'm in love with the end result! After mulling over what to do with it all day I decided to use cut paper and liquid starch (inspired by some liquid starch fabric wallpaper ideas).
Supplies:
You'll need basic white light fixture, liquid starch, scissors and thin paper (test with light bulb), clear gloss spray paint. I got my light from a thrift store but home depot sells the same globes for $15.00. IMPORTANT: only use a CFL bulb in the light since they don't get hot.
As for paper, I was sorting through some 1940's magazine ads and noticed a lot of them had dark ink and the thickness is perfect for the project. I also like he way the light shows the back of the ad which was unintentional.
I chose a design that could be done with easy accordion folding but I'd love to try a more elaborate cut paper design with an exacto knife at some point. After you cut your design, using a brush apply a thin layer of undiluted liquid starch to the area you are working on. I liked this because it was easy to move designs after placing them down by simply rewetting. I kind of winged it in the design area since this was just an experiment- next time I'd probably use a measuring tape when applying my designs. After your designs have dried, use a q-tip or tissue and remove some of the extra starch around the edges of your designs. Spray with clear gloss spray paint to finish.