I've been in love with the
Graf & Lantz color block wool totes since I first saw them on Terrain's website. I've never sewn felt or leather before but I decided to give it a go and see if my little sewing machine could handle it. Luckily, there's a thrift store outlet in my area where you can buy unwanted wool coats and bags for $1/ea which makes experimenting basically cost-free. I found an oversized 80's wool herringbone coat, a white wool blazer and a maroon leather brief case for under $5 total. Just look for 100% wool items, the more material, the better. This project is fine for even a beginner at sewing-- I have little to no experience with sewing beyond a blind hem stitch and I was able to figure this out as I went along. The key is going slowly with the leather, especially if you chose a thicker top grain leather like I did.
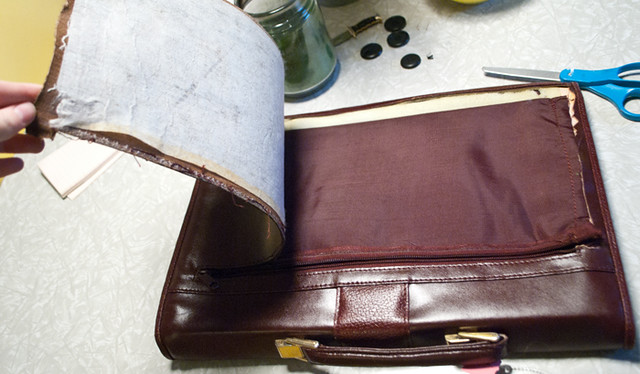 (disassembling the leather brief case into panels)-- basically just tear it apart at the seams.
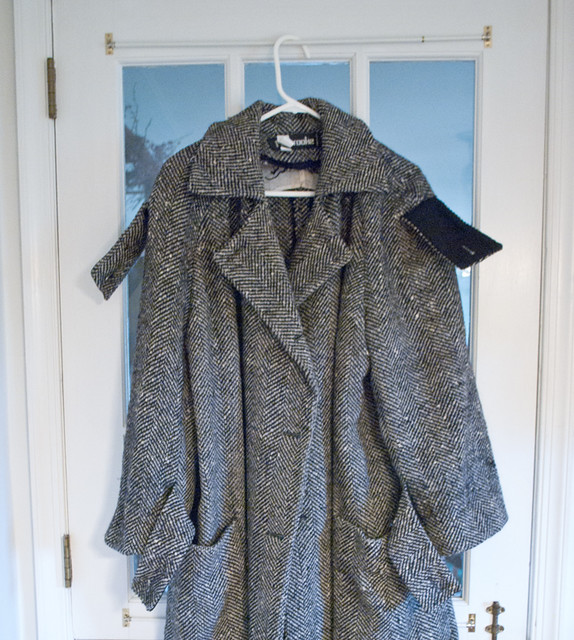 (remove all buttons and lining before felting your wool items)
To shrink the fibers of the wool and make the material more durable and thicker you need to felt it. Felting is easy-- stick the garment in the washer on hot water, followed by the dryer on a high heat setting. Warning-- this process is a little messy. I had tiny fuzzballs everywhere so it would help if you had a large mesh garment bag to eliminate the fuzzies in the washer. Don't forget to clean out your lint trap in the dryer after using as it will probably be full of fuzzies when you are done and you don't want your house to burn down next time someone uses the dryer.
My Version:
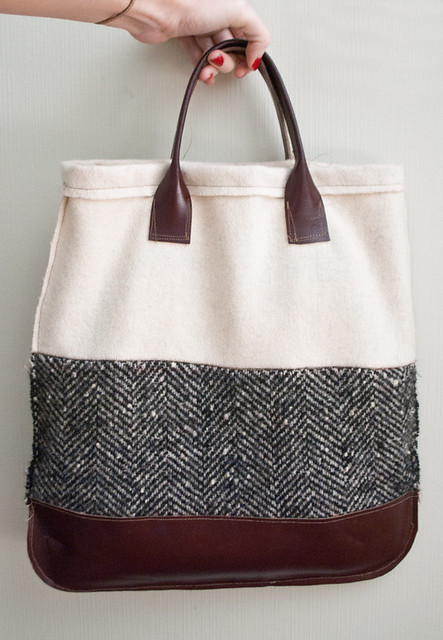
I left the side seams rough because I liked that look and so far I've been using the bag pretty regularly and the wool has not begun to unravel at all which I think is due to the felting process. Making the leather handles was easy -- just fold a 2" leather strap in half vertically and sew along the edge, leaving a section at the top and bottom unsewn (this will be where it attaches to the bag).